People often ask: How does it work?
Well, pay attention!
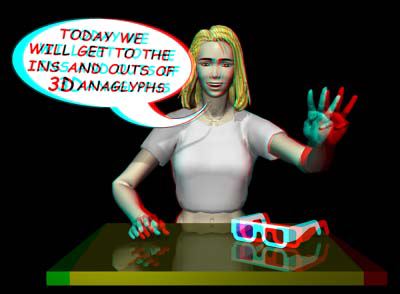
LESSON 1
About the viewer:the
RED filter goes on the left eye, and the BLUE filter goes on the right
eye. For those with a third eye: that's where the middle one goes.
Now, without the viewer, look at my left
hand.
You'll see three blue and three red fingers.
The red ones stick out more to the right. Those are the ones that your
left eyes sees. The blue ones are seen by your right eye.
Put on the viewer and see how the mind
assumes that since my hand is further to the right for the left eye than
it is for the right eye, the hand must be closer to you than rest of me.
And my table with the viewer on it is
obviously closer than the text you're reading.
Easily.
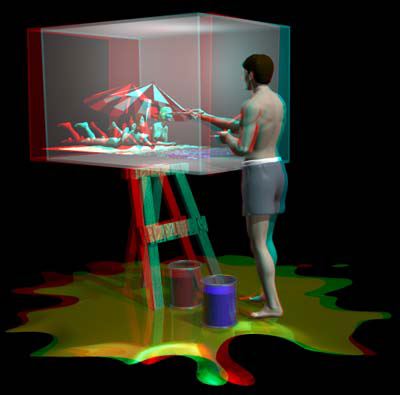
LESSON 2
Here we see an anaglyph artist at work,
using very basic tools.
THE MATERIALS
First you need a 3D-canvas. These are
available for free all over the net. Try here for instance:
http://www.freestuff.ana/3Dcanvas.
Make sure the canvas has a solid base,
and is big enough to give you room to move.
Next you need the paint. If you're a novice, don't go for all the colors, but stick to basic red and blue. Go to a well-stocked 3D-store and ask for ANAGLYPH MULTI-CHANNEL LAYER®. This is by far the best brand out on the market and easy to apply. You can also order them at HOLLOWPIXELS.COM.
Tomorrow we'll move to the next lesson:
HOW TO SET UP SCENE.
For now:
Go to TOMORROW.
Go back to WHERE
YOU WERE BEFORE YOU WERE HERE.